In this tutorial, you will learn how to configure Web User accounts in GoAnywhere MFT to send you messages using AS2.
Once you have configured the AS2 Service, you’re ready to configure your AS2 trading partner Web User accounts. Each AS2 trading partner must be setup as a Web User in GoAnywhere. In order to provide AS2 file transfer services with your trading partners, you will need to provide details about your server with your trading partner, and your trading partner must provide details and certificates with you.
What to Provide Your Trading Partner
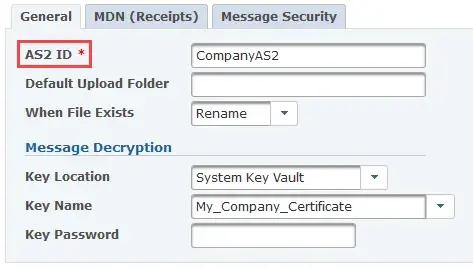
First, provide your trading partner with your AS2 ID. This is your AS2 ID found on the AS2 General tab of the HTTPS/AS2 Service Preferences.
Next, your trading partner will need the AS2 server URL, which they will use to connect to your GoAnywhere AS2 server. The default URL is [protocol]://[hostname][:port]/as2/receive. For example, your URL might look something like:
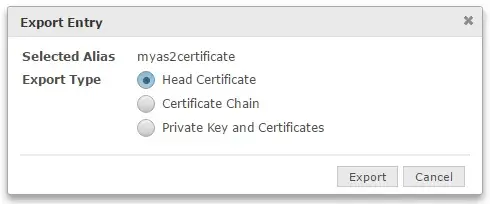
In addition, you’ll need to provide your trading partner with the Public Certificate (Head Certificate) portion of the private key you created and exported for AS2. The trading partner will use this public certificate to encrypt messages they send to you. If you’ll be using Signed MDN Receipts, you’ll also need to provide your trading partner with the Public Certificate portion of the private key you use to sign your MDN receipts. Reminder: The public certificates are exported from the appropriate private key stored in your private key store in GoAnywhere MFT.
What You Need from Your Trading Partner
As mentioned, you will need to obtain a few items from your trading partner. You’ll need their AS2 ID and the public (head) certificate associated with the private key that your trading partner will use to create signatures when sending files.
With these two items in hand, you’re ready to configure Web Users for AS2.
Configuring the Web User
Log in to GoAnywhere MFT as an Admin User with the Web User Manager role.
From the main menu bar, select Users, and then click the Web Users link.
From this page you can add and configure the Web User accounts that will send you messages using AS2. If you need help creating a Web User account, please refer to the GoAnywhere MFT help documentation.
Access Web User configuration by clicking on the Action icon next to the Web User’s name and then select Edit. Now, input the information obtained from your trading partner.
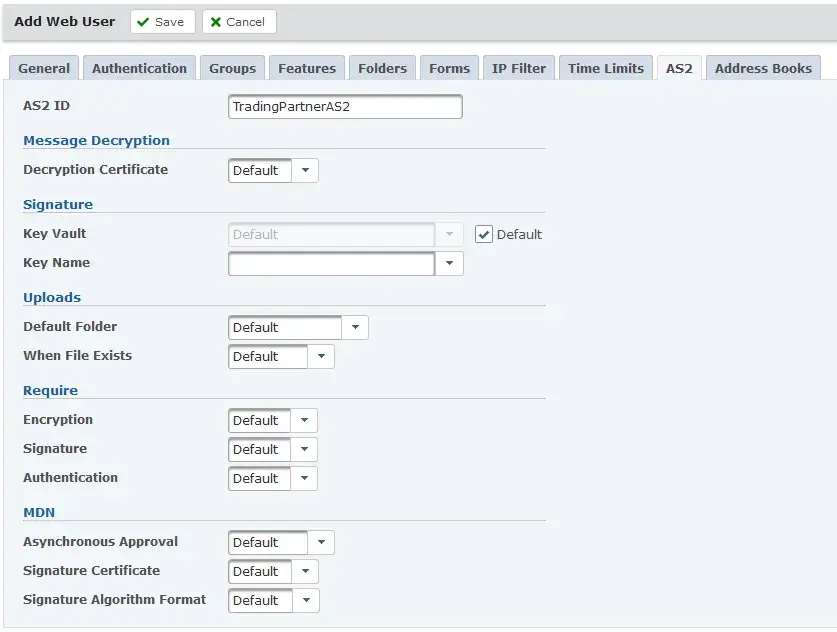
Your trading partner’s AS2 ID will be placed in the AS2 ID field on the AS2 tab of the Web User. Your trading partner will create their signatures with their private key. You’ll need to import the public certificate associated with that private key into your Default Trusted Certificate Key Store. When you’ve done so, enter the key alias in the Signature Certificate Alias field on the AS2 tab of the Web User.
Server Security Settings
Finally, navigate to the Authentication tab. Under Authentication Types, specify how you would like the Web User to authenticate when using AS2.
The following standard authentication options are available:
- User ID and Password
- SSL Client Certificate
- User ID, Password, and SSL Client Certificate
The following AS2 specific authentication options are available:
- Message Signature/AS2 ID
To specify authentication preferences for an AS2 ID or Message Signature, refer to the AS2 tab, where the Require Authentication option is set to Default, which will require password or certificate authentication. If you do not want Web Users to authenticate with a password or certificate, but prefer they use a signature, set Require Authentication to False and Require Signature to True.
With your Web User accounts configured for AS2, you can begin accepting transfers.
Final Considerations
Ensure that you have given the Web User access to the AS2 protocol by selecting the AS2 option under the Features tab. Also consider the folder permissions you’d like the Web User to have, like uploading and/or overwriting. Specify those permissions in the Folders tab.
Folder permissions should be consistent with the action you've chosen for When File Exists in the AS2 tab. For example, if you’ve selected Overwrite in the When File Exists field on the AS2 tab, the Overwrite permission should be selected for that Web User in the Folders tab.